Dogfood is tasty. Well, sometimes it is.
The weekend just gone S mentioned she wanted to buy a bookcase for a specific nook in our lounge. After a fruitless search through the interior design shops on Thorndon Quay I remembered this cool web start-up I’ve been working at for the last 7+ months where you can make your own stuff!
It was great fun. Actually it was lots of hard work but sooo much more fun than I thought it would be. It spins me out a little that I made my own bookcase (and it works…).
So the process went something like this:
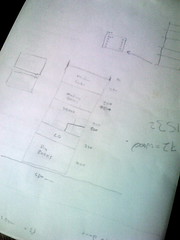
Measure area and scribble down ideas on paper.
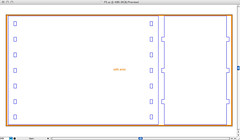
Choose a material to work with and get designing in Illustrator. I ended up going for the Double-sided Whiteboard MDF 9mm
Get it laser cut through Ponoko ![]()
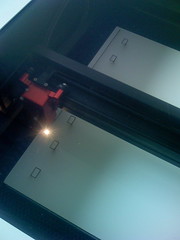
Get the pieces and peel protective tape off
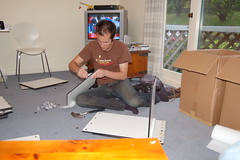
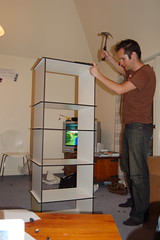
Tolerance is never perfect first time and it took ages to get the pieces fitting together. A trusty hammer helped a lot…
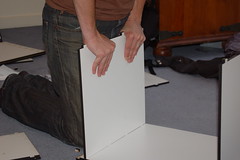
Putting the pieces together it starts to look like a “real” bookcase.
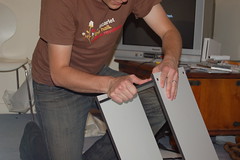
Slowly the shelves start to build…
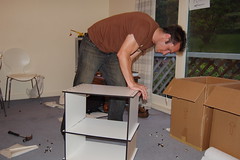
Almost complete… just making sure everything is fitting together snuggly… with no glue or screws either!
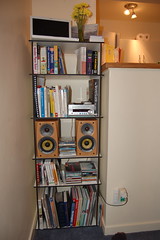
Here is the bookcase in the nook I had designed it for. It ended up being a whole lot tighter than I though it would be…
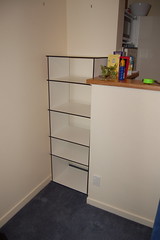
Now here is the completed bookcase, in place, and filled up with stuff.
If you like the look of it you can buy one off me or download the .eps file for free, customise it, and make it yourself.
My head is spinning with more Ponoko ideas now…
Comments
There are 6 responses to Bookcase creation
Wednesday, 9th January 2008 6:11 am
Congratulations! And this solves the perennial problem of bookshelves that are just out by a few centimetres. Cool!
Wednesday, 9th January 2008 8:36 am
Thanks Simon!
Thursday, 10th January 2008 3:29 am
So, how much did it cost you to run this through the laser at Ponoko? I’m very interested. Thinking about making an easel for painting.
Well done John.
Thursday, 10th January 2008 8:02 am
Hey Skinny, it was quite expensive and broke down into the materials being $91.35 and the cutting cost being $230.79 (it took a long time :)). It does use 9 sheets of the 790mm x 384mm material though.
At the moment Ponoko isn’t great for larger furniture-type things from a cost point of view but perfect for smaller objects like the majority of the objects you’ll see in our showroom: http://www.ponoko.com/showroom
Let me know if you want any help with your easel
Wednesday, 13th October 2010 6:23 am
[...] go ahead and leave him a message) spent the weekend building a bookcase. John wrote about it on his own blog and I’ve reposted below. As we’ve found before, using Ponoko produces three benefits [...]
Wednesday, 12th January 2022 10:58 pm
3package